
Last weekend, and the one before, we headed off to a new job in Cow Hollow. Unlike our previous one in the area, which was a private deck, this one was entirely within a lightwell. Lightwells are very common in more densely-built areas, serving as a way to have windows for light and air accessible to rooms that don’t have a connection to an exterior wall. Often, they’re fairly small and have a minimal amount of visibility, but this one is large (10 feet by 7 feet), and has large windows opening onto it from three sides.
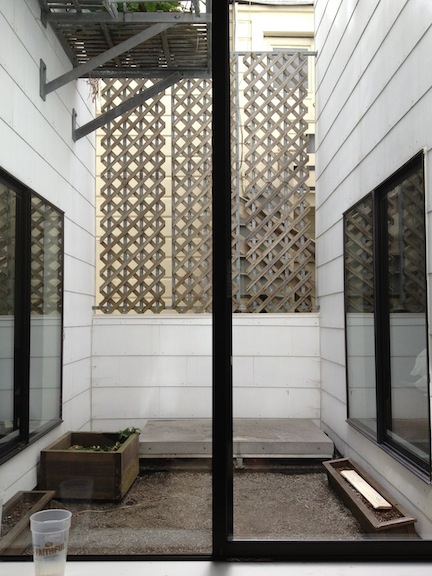
Before: blandness all around.
Once again, we found ourselves planting a design for Patrick Lannan of Flora Grubb Gardens, as so many of my portfolio posts have been. This lightwell has a lidded fire escape hatch down to the garage, and a drop-down ladder from the upper unit. The fourth side of the lightwell, the one that’s not a windowed wall, is steel bars covered in trellis. Previous tenants had some wooden planters out there, with lovely dead things shriveling away in them. There is also a handy hose bib (faucet/spigot).
Patrick wanted a cleaner look, and more vibrant. The first thing to tackle, after removing the crusty wooden planters, was to scrape out the dirty grey roof gravel and pour down some sleek black Mexican beach pebbles. Nice. We had a lot of bags to carry up, so I actually hired on a coworker of mine, Colin, from the nursery to help schlep that first day. Intention was to do all the work that day, but we got rained out. I wasn’t expecting rain like that. I thought, “Oh, rain, yeah, whatever. It’ll be brief, plus we’ll be in a lightwell and fairly sheltered.” Oh, uh-uh. It poured. Poured. And, the rooftops surrounding the lightwell all funneled the water into it, since that’s where a drain is. So, it was like standing in a waterfall. We poured out the pebbles, built the skeleton for a drip irrigation system, and brought the plants up from the garage (that hatch came in handy) so they’d get some light. Then, we called it quits.
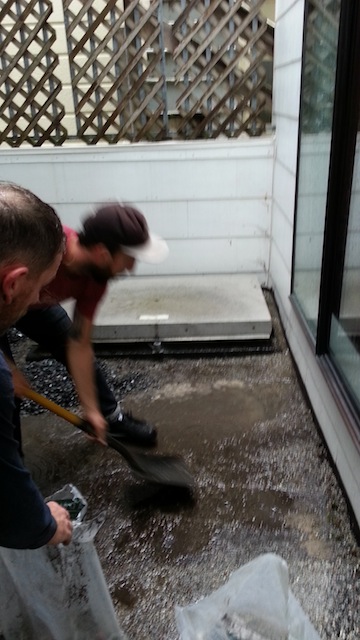
Colin and Tony, scraping sludgy dirty gravel in the rain. I love supervising. 🙂
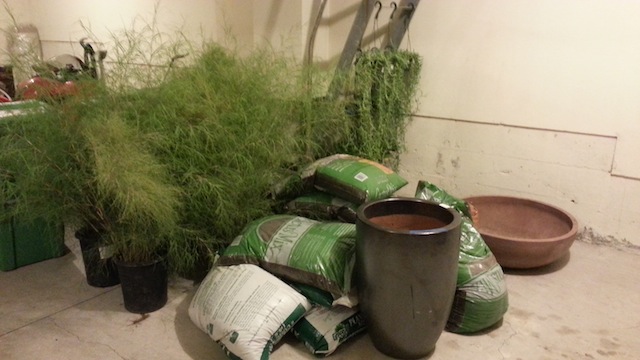
The delivered herd of pots and plants.
A week later, I went back solo. The heavy work was done, so all I had was to plant and connect irrigation. First was a wall of Woolly Pockets to disguise the trellises. I couldn’t really take the trellises out, because I needed them for attaching the pockets. I used industrial-strength zip-ties, being sure to secure them around the steel bars. The trellises keep them from sliding down. I ran irrigation tubing through the pockets, then planted them with cascading Senecio ‘Fish Hook’, punctuated with Aeonium pseudotabulaeforme (“green saucers,” it’s often called). The senecio will continue to grow and fill in, plus I’ll be adding some more on a future visit, as the quantity that was called for wasn’t available by installation day. The aeonium will grow up and fuller, with each little plant branching and ultimately growing to the size of a basketball or larger.

Before: Trellis ready for Woolly Pockets.
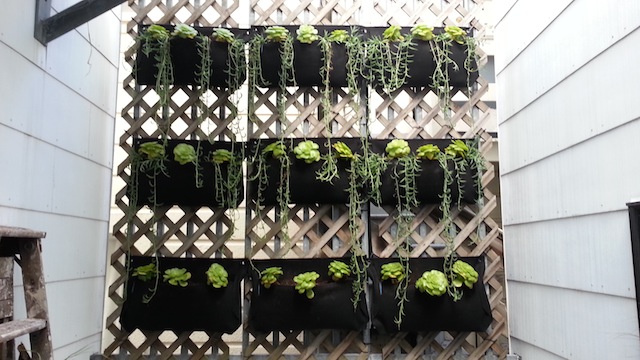
After: Woolly Pockets, mounted, irrigated, and planted. The bottom row will get some senecio, too, soon…
That done, I planted two large Fibreclay troughs in front of the fire escape hatch. Fibreclay is a lightweight fiberglass-reinforced clay pottery, that’s great for rooftop gardening because it’s quite light. It lasts about as long as wooden planters. I left plenty of room behind them for accessing the hatch. Then, I ran irrigation lines over from the main line, and punched up through the bottom of the containers. I left plenty of slack, so that they could be pushed further out of the way of escape, if needed. For these, Patrick had me plant a southwestern US grass called Muhlenbergia dumosa. It has the look of a bamboo, but not the aggressive root structure that would destroy the containers in a year, and grows to about four feet tall. This was perfect to disguise the view of the blank wall under the Woolly Pockets, and the soft grey-green accents the colors planted in the pockets.
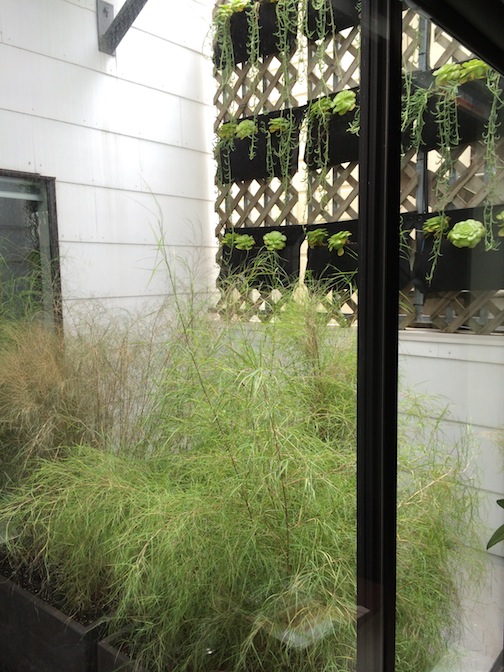
The Muhly grass, softening the view of the wall under the pockets.
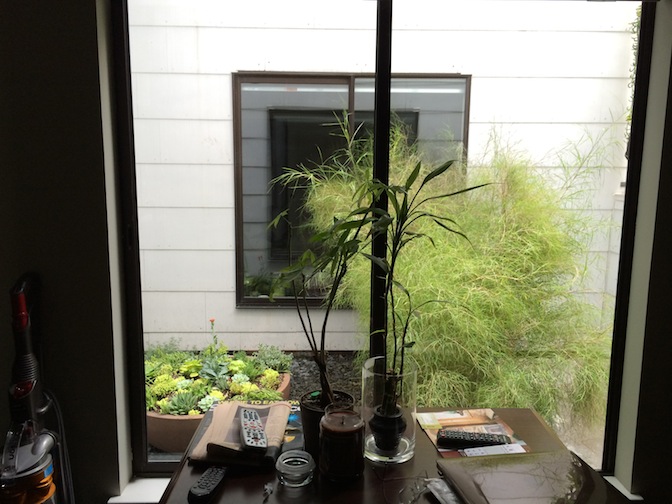
The grass also helps screen the view of the bedroom across from the TV room.
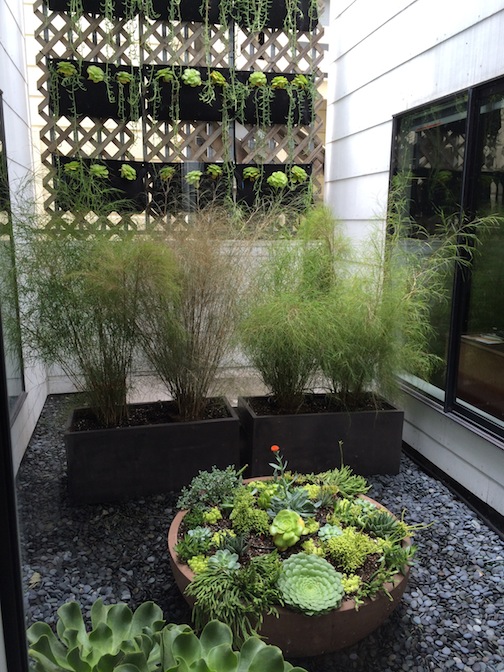
The last to be planted was a ginormous clay Sandhal bowl, with a sandstone-like finish that goes so nicely with the matte tones of the stones and Fibreclay, while still standing out as a centerpiece. Again, I ran the irrigation line up through the hole in the center, and hid it under the gravel over to the main line. I really need to get myself some irrigation tubing that has the drip emitters built into it, because my hands were not thrilled with making a “halo” of tubing with emitters radiating off of it. 🙂 Compositions of succulents are my forté, I must say. I love picking plants for color that will accent each other nicely. Patrick’s call was for “greys and greens”, and he wanted some Rhipsalis in a few spots to cascade over the edges. I started with those, then built a palette of semi-shade succulents to go with. Some bright yellow-green Sedum hispanicum ‘Fine Gold’ will spread throughout, and will make the other colors pop out.

After: The lightwell fully planted! The plants in the near left corner will go out to the back deck.
I think I need to trim that second grass bunch, huh?
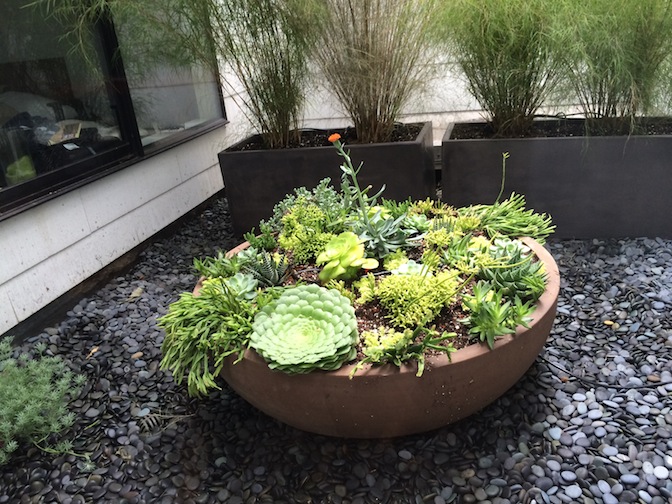
A closeup of the new focal point of the lightwell.
There’s still one more job to do there. The client want to add a couple of succulent vertical panels on his back deck, like I’ve mounted for clients before, so I’ll be going back in a couple of weeks to mount those. There’s also a pot and a couple of remaining succulents to go out there, too. I was too impatient to post to wait, though. 🙂 I’ll just have to post a follow-up when I do those…
(I did the vertical panel addition a few weeks later. Here’s the post about that element!)

Wonderful-simple , green colour works great with black and white, I like the different textures of leafs used
Thanks Tamara. Crisp and clean!
Pingback: boZannical Design + Installation: Vertical Garden Upgrades | boZannical Gardens